Researched guide. We have not tested the products or product types described here. Last reviewed: 16 November 2026.
A good motorcycle tool kit is small, fits your bike and covers the problems that actually strand riders. The short answer: start with the kit that came with the bike, add a puncture repair kit, a pump and a few basic tools that match your bike’s fasteners, and leave brakes, engine and wiring work to a workshop.
Who this guide is for
- Riders who want to fix small problems on the road and at home.
- Riders planning longer trips who want to know what to carry.
- Anyone unsure what is worth buying and what is a waste of space.
Start with what you have
Most bikes come with a small factory tool kit under the seat or in a side compartment. Check what is in it, and whether the tools fit your bike’s fasteners. The factory kit is often basic, so treat it as a starting point and add to it only where you find gaps.
The core kit
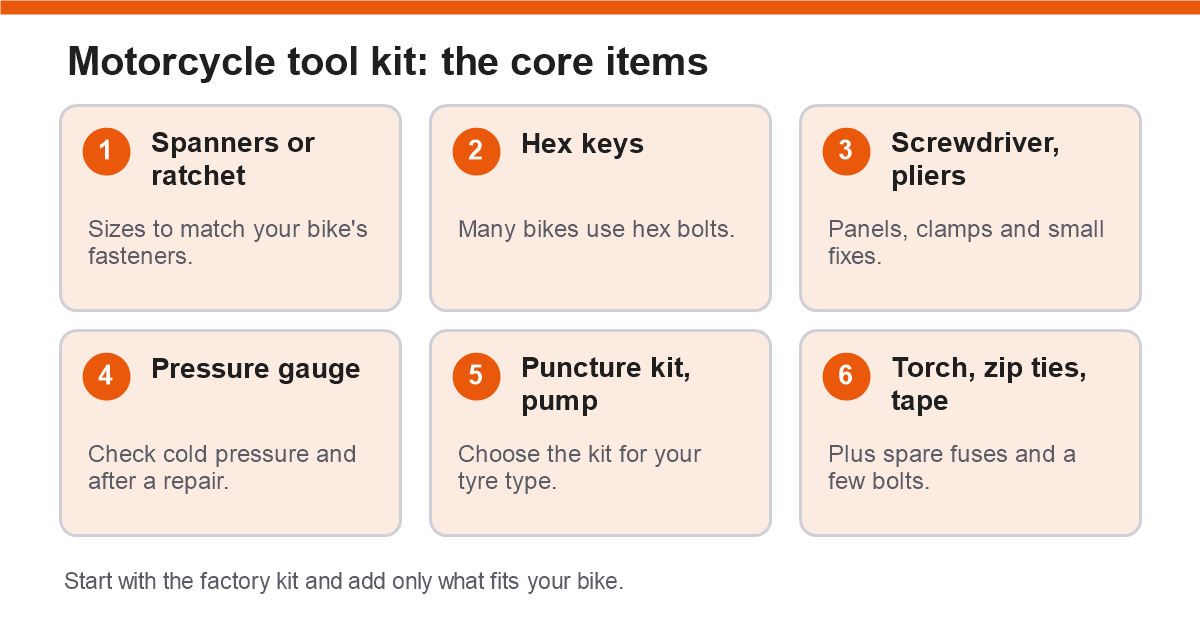
| Item | What it is for |
|---|---|
| Spanners or a small ratchet and sockets | Tightening and removing common bolts. Check your bike’s manual or fasteners for the sizes. One tool guide lists 8, 10, 12, 14 and 17 mm as the most common sizes on most motorcycles, so check yours. |
| Hex (Allen) keys | Many bikes use hex bolts. Ball-end keys can reach at an angle. |
| Screwdriver or bit driver | For panels, switches and clamps. |
| Pliers | For holding, gripping and small fixes. |
| Tyre pressure gauge | Lets you check pressure cold and after a puncture repair. |
| Puncture repair kit | A flat tyre is a common reason to stop. Choose a kit for your type of tyre, tubed or tubeless. |
| Pump | A small pump or a compact inflator. See our tyre inflator guide for what to look for, and check the pump suits your tyres. |
| Torch or headlamp | For checks after dark. |
| Zip ties and tape | For temporary fixes to loose parts. |
| Spare fuses and a few common nuts and bolts | Small parts that stop a minor fault becoming a long delay. |
Tubed or tubeless: check your bike
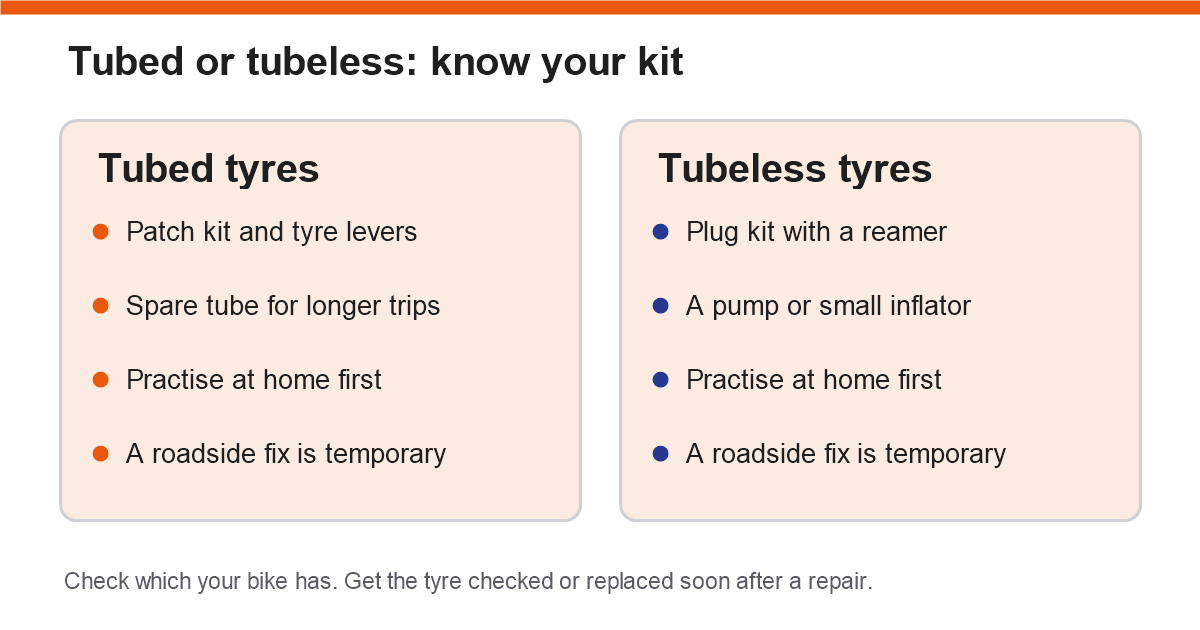
Repair kits differ by tyre type. Sources describe plugs and a reamer for tubeless tyres, and patches and tyre levers for tubed tyres. Check which your bike has. Many bikes with spoked wheels use tubes, and many with alloy wheels use tubeless tyres, but check your manual. Learn how your kit works before you need it, at home, not on the roadside. A roadside repair is a temporary fix. Get the tyre checked and repaired or replaced properly.
Useful extras for longer trips
- Tyre levers and a rim protector, if you carry a tube kit.
- Chain lubricant in a small bottle. See our long trip checklist.
- Spare clutch and brake levers or cables for remote touring, if you know how to fit them.
- A small multi-tool as a back-up.
- Rags or wipes, and disposable gloves.
- Duct tape and a small length of wire.
Use the manual’s numbers
Tightness matters. Over-tightened bolts can strip threads or damage parts, and loose ones can fall out. Your owner’s manual gives torque values for important fasteners, and a workshop uses a torque wrench to apply them. Do not guess on critical parts such as wheels, brakes and engine mounts.
What to leave to a workshop
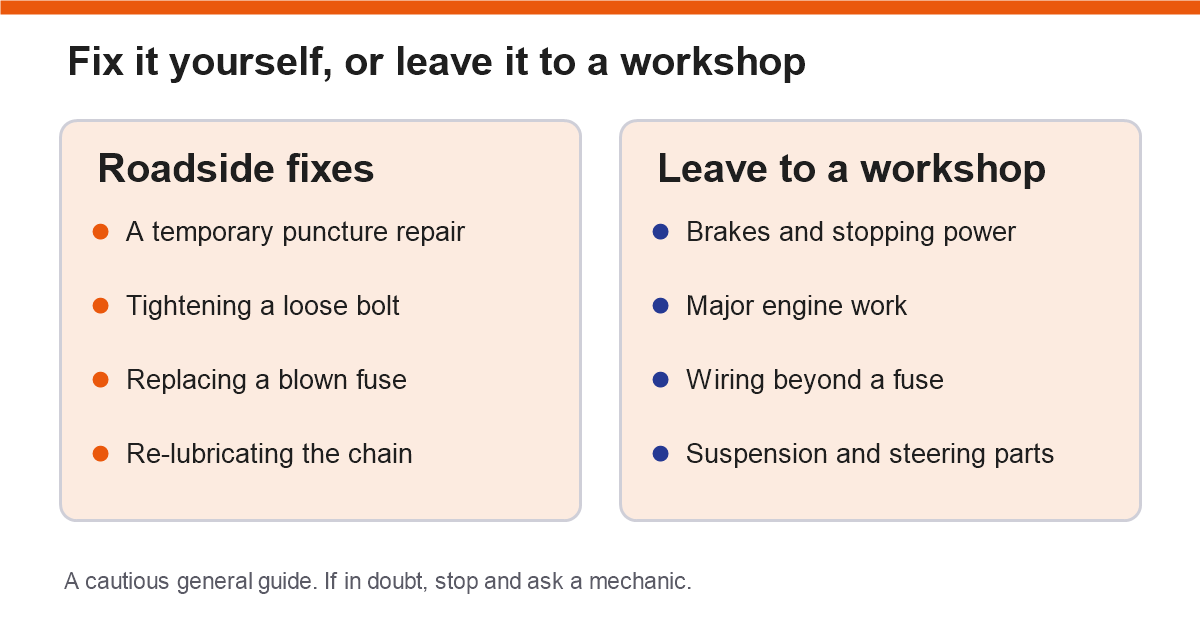
- Brake repairs and anything affecting stopping power.
- Major engine work.
- Electrical and wiring faults beyond a blown fuse.
- Suspension and steering parts.
- Anything you are not sure about. A tool kit helps you get home, not rebuild the bike.
We did not find a source that sets out where to draw this line, so this is a cautious general guide. If in doubt, stop and ask a mechanic.
Storing the kit
- Keep it in a pouch so it does not rattle or scratch the paint.
- Keep the weight low and balanced. See our luggage guide.
- Check it before each long trip, and replace anything worn or rusty.
Mistakes to avoid
- Buying a huge kit and carrying tools you cannot use.
- Carrying tools that do not fit your bike’s fasteners.
- Never opening the puncture kit until you need it.
- Over-tightening bolts without a reference.
- Attempting brake or wiring repairs on the roadside.
Who may not need much
If you ride short distances in town and have a workshop nearby, the factory kit, a pump and a puncture kit may be enough. Add tools as your trips get longer and more remote.
A quick checklist
- Check what the factory kit contains.
- Match tools to your bike’s fasteners.
- Add a puncture kit suited to your tyres, and a pump.
- Add a gauge, torch, zip ties and tape.
- Carry spare fuses and a few common bolts.
- Practise a repair at home before a long trip.
Frequently asked questions
Is the factory tool kit enough?
Often only for basic adjustments. Add a puncture kit and a pump, and check the tools fit your fasteners.
Do I need a torque wrench?
For routine work at home, it helps. For a roadside kit, it is rarely carried. Use the manual’s values when you can, and recheck at a workshop.
Can I fix a puncture myself?
You can fit a temporary repair if you have the right kit and practice. Get the tyre checked or replaced soon after.
What size spanners do I need?
It depends on your bike. Check your bike’s fasteners rather than relying on a general list.
Conclusion
Start with the factory kit, add a puncture kit, a pump and a few tools that fit your bike, and leave serious repairs to a workshop. When we add specific recommendations, they will be clearly labelled.
Related guides
- Essential accessories and checklist for long motorcycle trips
- Motorcycle USB chargers: how to choose and fit one
- Browse more in Motorcycle Maintenance & Utility.